Share


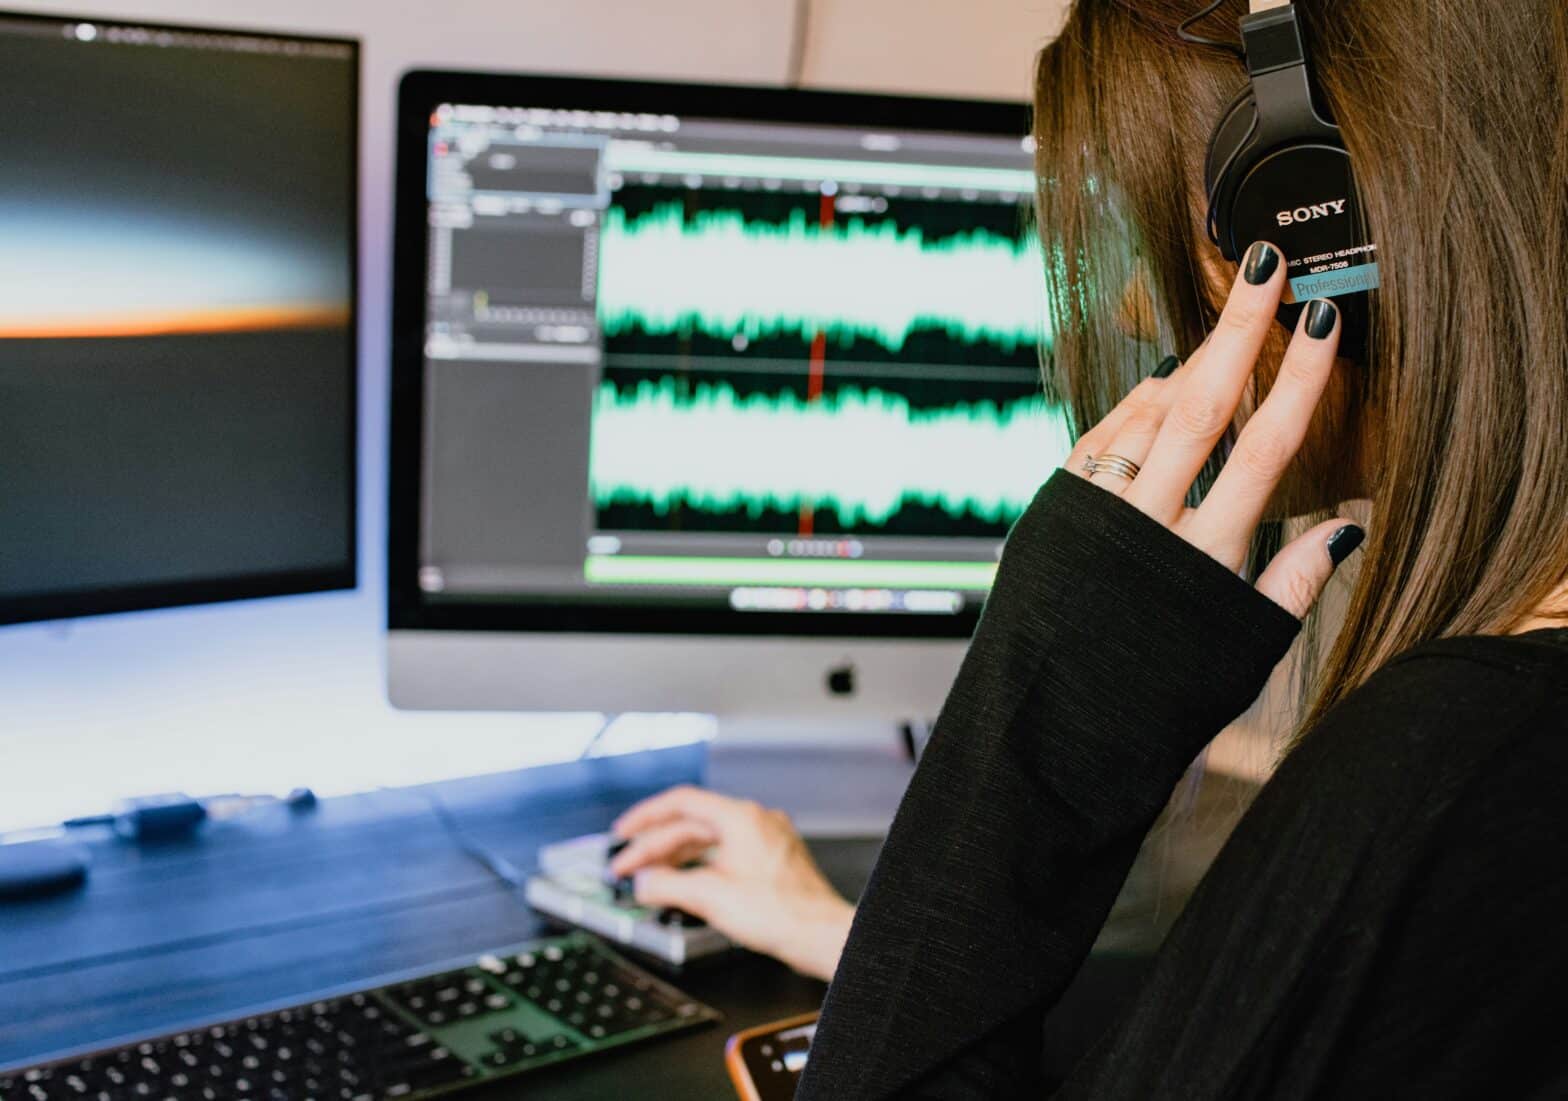
Dreaming of a career in voiceover? A well-equipped home studio for voiceover can be your launchpad to success. But don’t worry, you don’t need to break the bank to create a professional-sounding setup. In this guide, we’ll explore the essential equipment, acoustic treatment, and software you need to build a budget-friendly home studio that can help you land your dream voiceover gigs.
Essential Equipment
- Microphone: A good microphone is the cornerstone of your home studio. While professional-grade microphones can be pricey, there are plenty of affordable options that can deliver excellent sound quality. Consider a USB microphone for easy setup or a dynamic or condenser microphone for a more technical setup. Test the audio quality by recording various kinds of scripts and checking for echo and other issues if any.
Some popular microphones:
- Blue Yeti: A popular choice known for its versatility and ease of use.
- Audio-Technica AT2020USB+: A cardioid condenser microphone that offers excellent sound quality for the price.
- Rode PodMic: A dynamic microphone designed specifically for podcasting and voiceover work.
- If you use a USB microphone, make sure your computer doesn’t have a noisy fan. If you’re starting out, getting a USB mic isn’t a bad idea, as they’re not too expensive and it would help you to get some practice as well.
- Focusrite Scarlett interfaces are a popular choice among voiceover artists due to their affordability and high-quality audio.
- Headphones: High-quality headphones are crucial for accurate monitoring. Closed-back headphones are ideal for home studios as they minimize sound leakage. While professional-grade headphones can be expensive, there are many affordable options that offer excellent sound quality.
- Beyerdynamic DT 770 Pro and Audio-Technica ATH-M50x are popular choices for monitoring audio.
- Pop Filter: A pop filter is a simple but essential tool that prevents plosive sounds, such as “p” and “b,” from being captured by your microphone. You can easily make your own pop filter using household items or purchase an affordable one online.
- Computer & Software: A reliable computer is essential for running audio editing software and recording your voiceovers. While you don’t need the latest and greatest hardware, ensure your computer has enough processing power and storage space to handle your voiceover projects.
Popular Audio Editing & Mixing Software:
- Audacity
- Pro Tools
- Logic Pro
- Adobe Audition
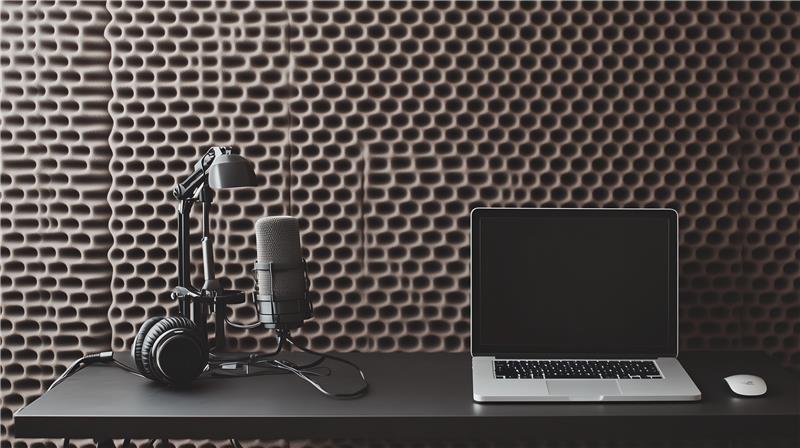
Creating an Acoustic Space
A well-treated room can significantly improve the sound quality of your recordings. While professional-grade acoustic treatment can be expensive, there are several budget-friendly options: People have used their closets to great advantage, in fact, any small room can be converted to a working studio with the right accessories.
- Soundproofing: Use soundproofing materials like acoustic panels, foam, or blankets to minimize background noise and echo.
- Mic Placement: Strategically position your microphone and speakers to optimize sound quality.
- Room Treatment: Consider using acoustic diffusers or bass traps to further improve your room’s acoustics. If you have the budget, there are a ton of options available.
You must test the quality of audio by checking for echo or any humming noises of the room, and try recording by changing mic positions as well. Experimenting with mic placement will also help you in finding the right position where you sound the best.
Software and Tools
- Digital Audio Workstation (DAW): A DAW is essential for editing and producing your voiceover recordings. Popular free options include Audacity and Reaper, while affordable commercial options like Adobe Audition and Pro Tools offer more advanced features.
- Voiceover Plugins: Plugins can enhance your recordings by adding effects like noise reduction, equalization, and compression. Consider using free plugins or affordable commercial options.
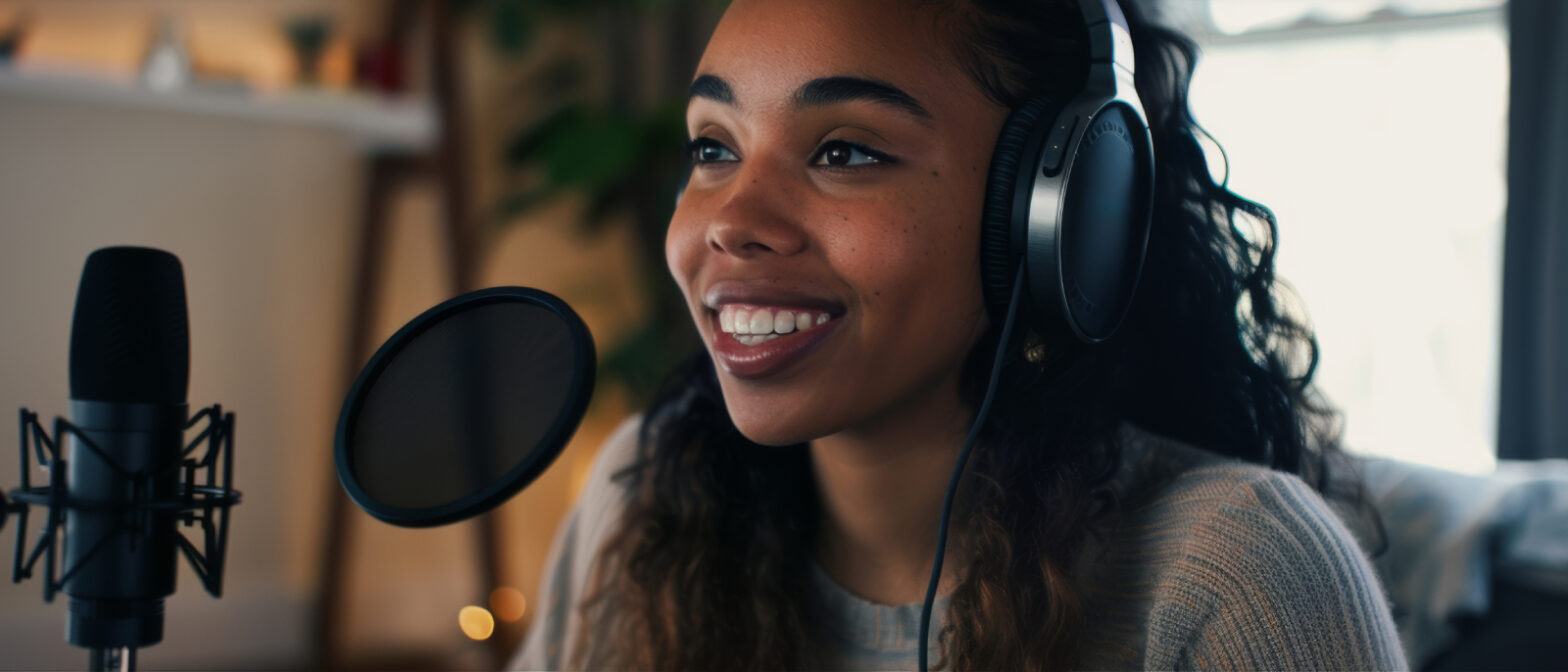
Tips for Setting Up Your Home Studio
- Choose a quiet room in your home, away from traffic and other noise sources.
- Keep your cables organized to prevent tangles and potential noise interference.
- Set up your workspace to avoid strain and discomfort.
- The more you practice, the better your voiceover skills will become.
- Connect with other voiceover artists online and in person, and learn from their experiences.
Conclusion
By following these tips and investing in the right equipment, you can create a professional-sounding home studio on a budget. Remember, practice is key, so keep recording and refining your skills to become a successful voiceover artist.
Additional Tips:
- Consider Online Courses: Platforms like Udemy, Coursera, and Skillshare offer affordable online courses to help you improve your voiceover skills.
- Network with Other Voiceover Artists: Building relationships with other voiceover artists can help you learn from their experiences and find opportunities for collaboration.
- Stay Updated with Industry Trends: Keep up with the latest trends and technologies in the voiceover industry. Research voiceover websites and sign up for newsletters to gain information about upcoming voiceover conferences, online or in-person. This would also help in finding a voiceover coach if you’re looking for one.
By following these tips and staying dedicated to your craft, you can turn your home studio into a thriving voiceover business.
Rupa Krishnan
28 January, 2025 . 5 Min read
Share